Tuesday 25 February 2014

Ellen Vargo inspired

Evening! I know you say bit late isn't it for a post, especially from me as I'm usually in bed by now, but thought I'd show my playing that I got to do earlier this evening.

I recieved my first Ellen Vargo set of stamps today, you can purchase your from here. Ellen first appeared on the Paper Artsy blog in January with her wonderfully unique style. You can see more of her work here.

So moving on...

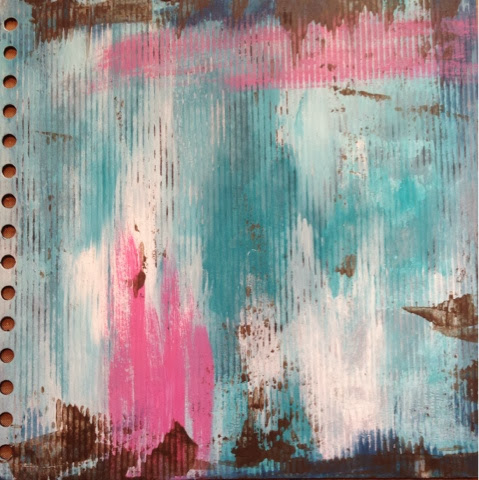
I used the limited addition fresco paints by Paper Artsy brayered onto my paper.


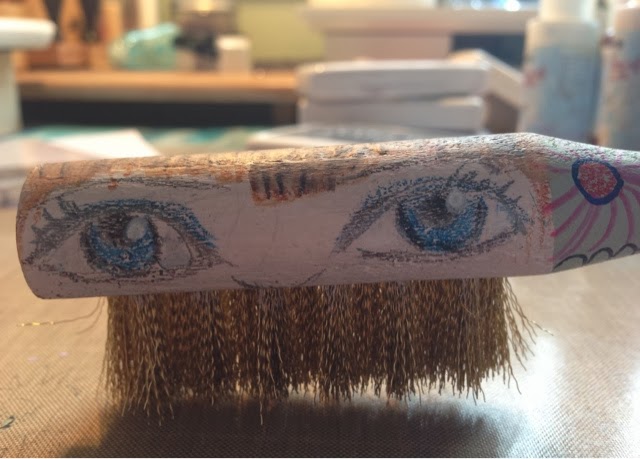
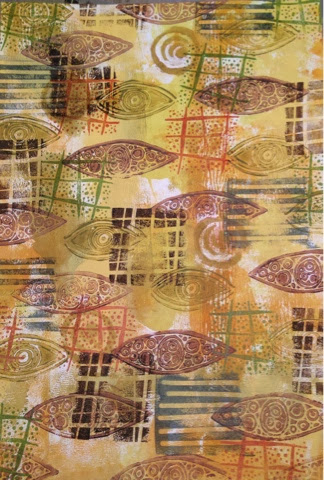
I then started stamping with some of Ellen's designs as well as some others, that I have purchased in contrasting  colours.


I kept building up the layers drying in between.


I then used a more vibrant colour to make it pop and toned it down slightly by using snowflake.


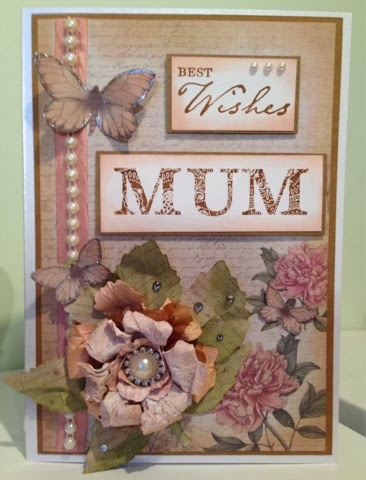
Next I randomly cut the page up into different sizes and mounted them onto different background cards.


I then played about laying them on cards with words. I haven't stuck any down yet as I was just playing but the opportunities are endless. This is a great way to play but have something that you can turn into a fab card very quickly. Here are a few suggestions:


Thank you so much for paying me a visit. Please leave a comment as I love reading your thoughts.

Hugs Debs xxx
SHARE:

Sunday 23 February 2014

A little gift

Evening all. Well Sunday has nearly left us. It actually felt like a whole day for me. I got to play for most of it and my lovely husband cooked all day, how great is that!

...Well he bought himself a little boot brush to clean his walking boots. Plain wooden brush! So, I'd thought I'd decorate it for him.


I used Fresco Acrylics in nougat to coat it first.


I then used vintage lace and sage. 


I lightly drew some eyes with pencil and then went over them inktense pencils. I added some hair and decorated the back.


Now I know this isn't an amazing piece of art be he loved it! 

Thanks for looking

Hugs Debs xx
SHARE:

Ellen Vargo Inspired

Last week Ellen's fab stamps were introduced to the world. They are really great and I cannot wait to get some to play. You can see how she used them on the Paper Artsy blog this week. I thought I'd have a go a decorating another journal cover in the style Ellen used. I have had to improvise with stamps but it came out ok.

I started with the same colour combo as my last journal and added some spiral shapes in inky pool 


I used a smaller one with snowflake but because it still had geranium on it from my previous journal it mixed and created a pinky colour which end worked well with the paper I was going use for my flower.


I used a gelly print page I add made at christmas as I loved the colours. I again used geranium archival to my home made stamps then cut them out. I used the same paper for the stalk and and leaves.

I assembled the flower and let it dry.

I decorated the flower using a white paint pen which I also splashed onto the cover. 

Next I added my words 

And then decorated them and added some finishing touches.


And the finished cover


Thank you for looking 

Hugs Debs xx


SHARE:

JOFY inspired

Good afternoon, I have been playing with JOFY's new stamps and had a go a decorating one of my journals. Jo showed some covers she had decorated on the Paper Artsy blog this week, you can see her ones here.

I started by brayering some snowflake on to the cover then dried this and used a small foam sponge to add more. I really liked where it picked up on the braying.

The colour was added in small dots and then blended in. Once I had all the blue on I wanted I added some Orchid and then some French roast to grunge it up a bit.


I used some of my homemade stamps to add some more depth in contrasting colours using archival ink as when it is heat set it becomes waterproof.

Once it was dry I stamped JOFY stamps from JOFY 24 and from her mini JM16 in black archival ink.


I filled in all the areas with snowflake so that I could paint ontop and get a colour more true to the original.


I used twinkling H2O's to colour the stamps 


I also used some liquid pearls to add some mor texture.

Next I stamped a sentiment cut it up a decorated itbefore sticking it in place. 


I am really pleased with the finish look especially the effect of the book cover being grooved as it added more interest.


Thank you for looking.

I would love to read you comments

Hugs Debs xx
SHARE:

Monday 17 February 2014

Craft challenge recipe

Morning lovely people, I hope you are all keeping well.  Some of you may know that I'm on the design team at Craft  Challenge where there are fab challenges weekly. I will be showing my designs fortnightly so as to fit in with my other commitments. This week's challenge is a recipe which I shown below. So get in that craft room and let's see your designs. To enter your card just follow the linky at the bottom of the challenge page on the craft challenge blog here Good luck.


So I chose to use blue for this challenge in celebration that we had two days in a row with a blue sky. My image is from DRS Designs which you can see here.

I matted and layered my papers and stuck them to the card.

Then added another layer.


My image I coloured with distress ink and once dry went round the butterfly in silver liquid pearls.


I then added a sentiment some pearls and a silver bow to finish.


I'm sorry about the quality of the photos today I had lost the light both natural and fake.

Take care hugs from me and as always I would love to read your comments.

Debs xx
SHARE:

Sunday 16 February 2014

DLP Week 8

What a great prompt this week. Add a page to your added page. I first brayered the new Lin brown paints from Paper Artsy onto my page.


This page is inspired by Kate Crane sooo loving watching her videos. I then started to add some stamping with my home made foam stamps.


And some more ...


Then I added my extra. I had been sent some journal cards by a friend I talk to on twitter and thought this was a perfect project to use some. I stuck two together and added it to my page.


I tucked even more cards inside for some secret thoughts 👼


And as the top card had a frame I decided to challenge myself to add a drawing in only 7 mins to match the week. 


I really love this week and it's completed so I can use it throughout the week instead of playing catch up. Hope u like it too. 

Hugs debs xx
SHARE:

CAS

... I was feeling cluttered my room didn't feel right so decided to have a move round. I completely changed things round an d tidied which seem to give the illusion of more space. Now do not get me wrong I know I'm lucky to have a whole room to myself but as many of you will know, your space has to feel right.

Once the clean up was finished it was time to play. I felt I needed to capture my now uncluttered space and so this was produced. I didn't take any photos and I guess you can see why. 


Thank you for your visit.

SHARE:

Mums birthday card

No inky painty  play on this card. It is for my mum and she loves pretty. I gathered my stash together and started to plan.


I loved this paper from card works craft - correspondence, and thought it would be a good background for the card. I matted it in onto kraft card, added some ribbon and a string of pearls.

I wanted a flower and so cut several large tattered florals from Tim Holtz. I cut a plain pink, a crunchy wax one, and a script one. I distressed all with tattered rose distress ink, as well as the card it's self. I then sprayed the florals with water and once floppy scrunched each petal.( this was a technique I learnt from Lynne from birds in the barn Mark Tey, Essex) then dry the scrunched petal and form into a flower.


Here are the other bits I used.


I then assembled the card added a sentiment and it was finished.


I am entering this into the frilly and Funky challenge here


Thanks you for your visit. I would love to read your comments 

Hugs Deb xx


SHARE:
BLOGGER TEMPLATE CREATED BY pipdig