Tuesday 31 December 2013

Happy New Year to all you lovely people out there make it a good one.

I was inspired to do another Paper Artsy project using grunge paste coloured with fresco acylic paint. I also chose to challenge myself as colours I usually go for are all tones of purple, lilac etc I just love these colours and feel a real connection to them. So... I chose  Zesty zing and pumpkin soup both of which are a translusent and the other two colours were nougat and very berry and are opaque.


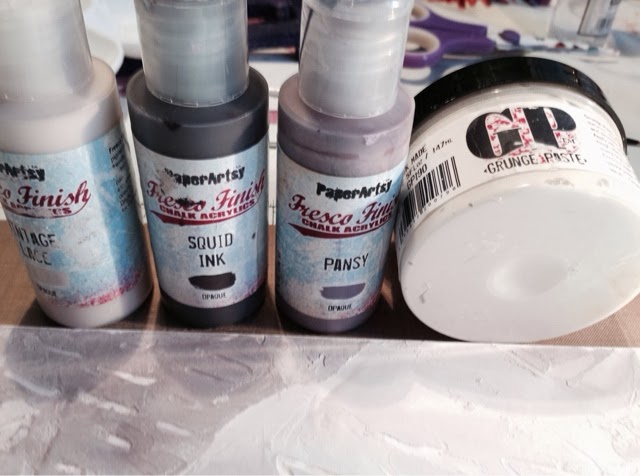
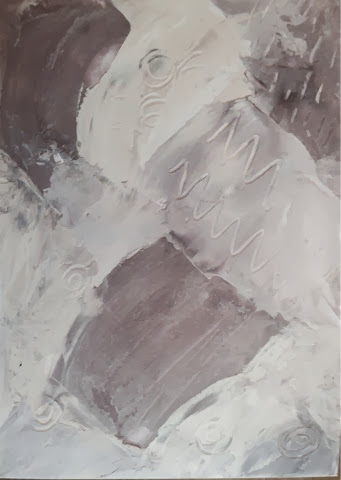
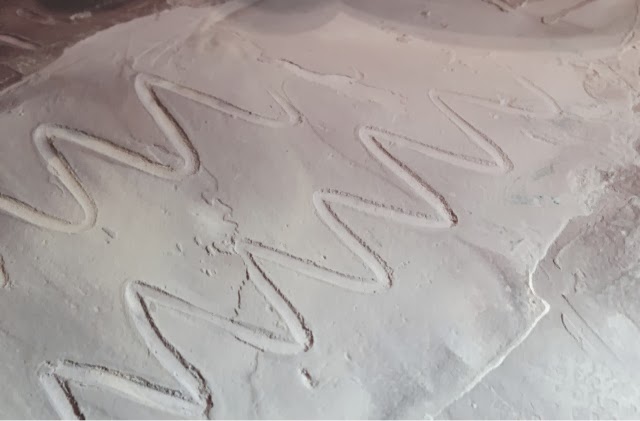
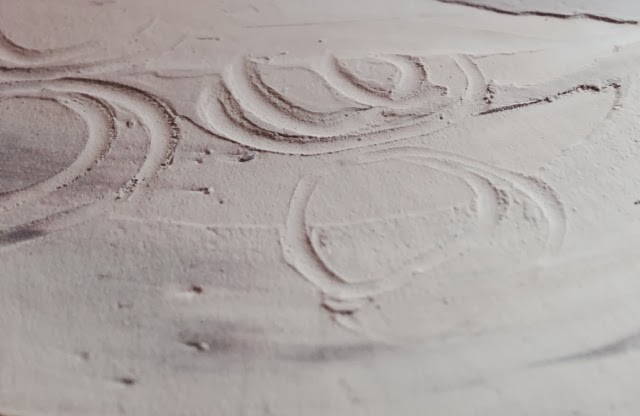
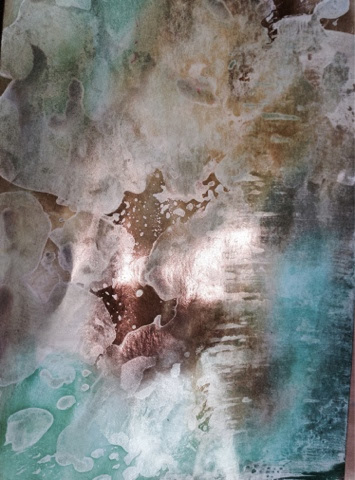
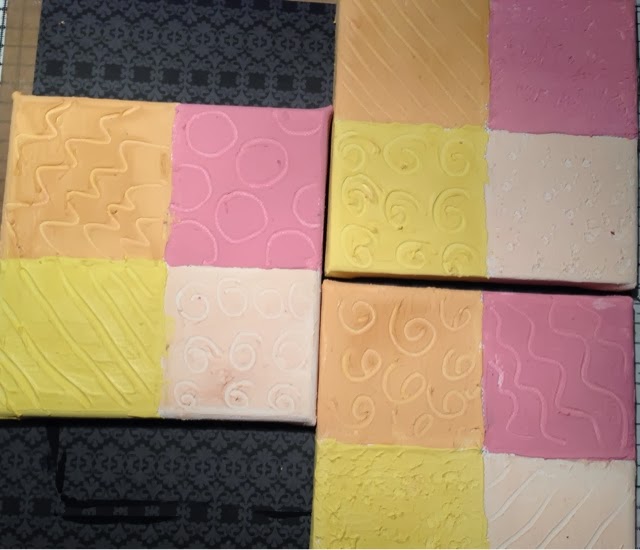
I applied them to 3 6x6 canvas quartering them and putting on all four colours I added patterns as I went randomly. I let them dry over night. To be honest I wasn't keen on the colours as a piece of art although the colours themselves are nice.

All day today I kept looking at them but was not inspired to complete them until ... Sorting through some bits I found some hearts. Maybe I could add these and see what happened. I added some treasure gold to the canvass ( inspired by Hazel see her blog here

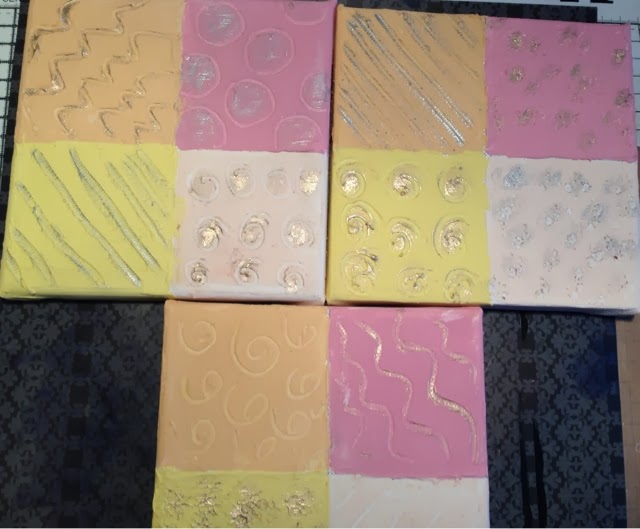
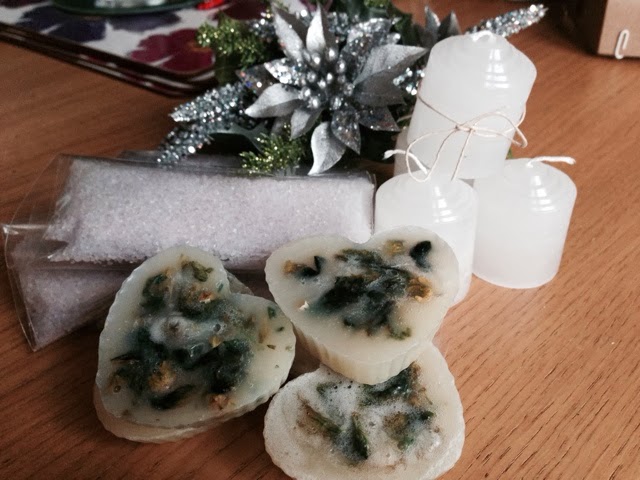
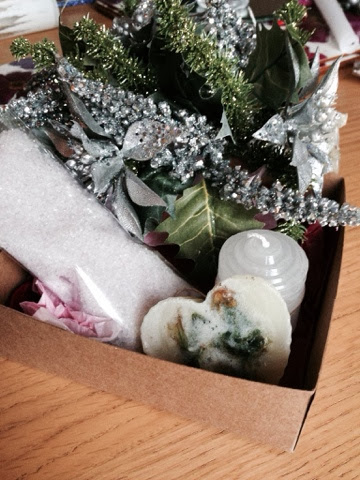
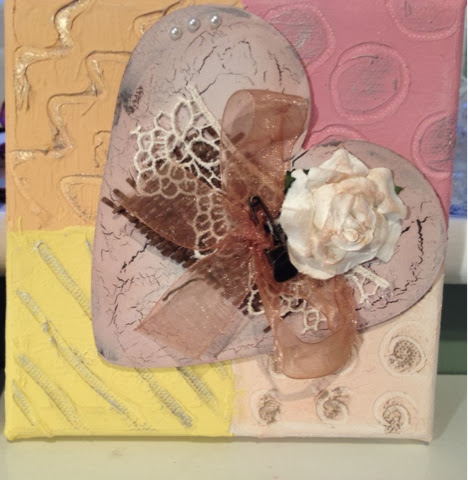
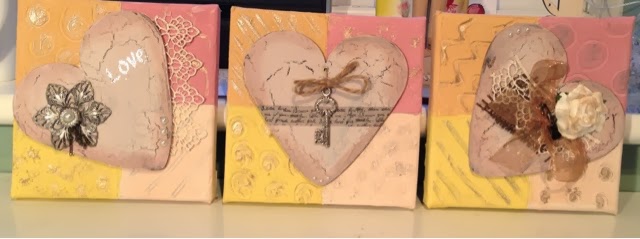
I then got out all my bits and bobs and decided which I would use. I painted all three hearts with with French roast, crackle glazed and then once dry painted over with vintage lace( couldn't resist).  Loved the crackles amazing product. Once it was dry I tinted the edges with vintage photo distress ink.


I decorated the heart and then stuck them to canvass. My hubby even liked them and wants to hang them in the guest bedroom.


Thank you to all the people who have joined my blog and supported me on twitter you have all inspired me to make art, to overcome my 'not good enough' and let go of trying to get a piece perfect. Have a fabulous New Year.

Hugs to all Deborah xxx
SHARE:

Monday 30 December 2013

All pink

I saw this challenge on fashion stamping challenges. Anything with raspberry chocolate and cream and thought I'd give it go.

I cut a tag from mount board - not sure of size. Then gave it two coats of paints with fresco acrylic paint. Next I stamped some twigs from Paper Artsy and some flowers from JOFY using archival in expresso.

Then I coloured some metal pieces with primary elements not sure of the colour because I stuck them onto an old CD so that I can stack them on the spindle to save space. Got the idea from Christina at card making magic but forgot to put the colour on each pot doh! Anyway it's a very pink colour.

I then cut some holes on the tag to tie some ribbon and add decoration I thread the ribbon, stuck the embellishments in place an added some roses.


Thank you for looking 
Hugs Debs xxx

SHARE:

Sunday 29 December 2013

Gelli plate

I got one for Christmas and I love it. I have Made loads of first and second pulls but only one into something I'd call a picture, which I'm going to stick in my journal. 

I was inspired to do this picture by Carolyn Dube. In her video she points you to spraypaintstencils.com where you can access loads of free stencils. I used the same one she used and got a similar effect.

The first and second pulls

I then follwed Carolyn's idea of using black and the three stencils. I want to add some writing but not sure how to frase what I want to say lol. 

This is the final picture. I have added some letters to mine.


Thank you for looking and please leave your comments hugs Deb xx
SHARE:

Here again

Today I played with my Gelli plate all morning then sat down for lunch. My husband had taped Alice in wonderland ballet for me so we started to watch. I was really enjoying it when suddenly the backgrounds to the ballet started to get my creative juices flowing. I needed to get back up there and start a journal page.

First I used a mixture of mediums to create sky and grass I used Gelatos Aqua Markers and Fresco Acrylic paints in a variety of blues and greens.


 Once this was dry I sprinkled some brusho in turquoise on the sky and emerald green on the grass. I then spritz it with water and watch it do it's magic. 


I so love the brusho 


Again I let this dry and started adding my stamping to build up my picture. Unfortuantly I did not make a note of the stamps I used as I was too engrossed in what I was doing but they were all from Paper Artsy and IndigoBlu.


And the final one which because of loosing the light looks a bit a dark ( I will see if it looks better in day light tomorrow )


Thank you for talking the time look and I would love to read your comments xx


SHARE:

Saturday 28 December 2013

Al last a day to play

...now is my crafty time. I was inspired by Leandra at Paper Artsy who has been demoing their products ( which are fab) a challenge was set which I thought I would enter. I loved what Leandra had featured today so used that as my inspiration although adapting to fit what I wanted to make. You can see Leandra techniques here.

First I gathered my materials 


I mixed the 3 colours with grunge paste and spread them in sections on the board. I didn't keep the sections in squares as I wanted to have a more sweeping style with some blending.


I then added some more texture 


Once it was all dry I sanded it a little to make of some of the rough edges. I then added some archival ink from Ranger in eggplant just on the edges of the board. 

Next I added some stamped images, but at this point I didn't like the look so sanded them down and added some paint to cover them. This added a darker part to the canvas but I think it looked more balanced. 

I then die cut some houses from sizzix and painted them in the same colours. Once they were dry I added some detail with stamps and acrylic fresco paint as well as hand drawn doodles. 


Colours used were vintage lace, pansy, and squid ink ( fav colours) stamps are HP 1103, and crown and castle 2, 9

Finished look 


Thanks for looking. Your comments are welcome 


SHARE:

Background

I thought I would have a little play with some twinkling H2os from Luminarte to make some backgrounds. The set I used were the spring collection. 


I added the water and let them sit before making small puddles of colour on my craft mat. I then wiped some photo paper through the colours. Once dry I added some distress ink through the colours and really loved the effect. 

And here they are.


The camera doesn't pick up the beauty in the clouts but you can get the idea.

Thanks for looking 


SHARE:

Wednesday 25 December 2013

It's Christmas

I'd like to take this opportunity to wish all my followers and those that have taken the time to look at my blog and leave comments a very merry Christmas and a fabulous New Year. 

Thank you for your support it has been really special to me xxxxx

Big hugs Deborah xxxx
SHARE:

Tuesday 17 December 2013

Christmas pressies

I decided I wanted to make a little pressie for some lovely ladies whom I supervise at work. It was important to me that I gave them something I had made myself. After much deliberation I decided on something to relax them and get them in the festive spirit. 

I chose to make soap, candles and some bath salts. Not very original but unique as I made them myself. 

I kept the colours simple white but added a touch of lilac to the salts but I did miss out the sparkle. I added some lavendar oil to add the relax. I also added some dried flowers to the soap which will bereleased  once it melts.

And here thay are. I also made the boxes.


SHARE:

Tuesday 10 December 2013

Inspired by Anna Karin Evaldsson in craft stamper

Over on Craft challenge they have put out a design team call and so I would like to enter this card as part of the challenge. It would be good to join the team as I have an electic style which I am still developing. I love to paint and draw. I make cards in a variety of styles. I feel I could bring a fresh style to the team as well as develop through what I could learn from them all.

Now to my card
I was inspired to make this card because I loved the colours. I didnt have a stamp and so designed my own trees. I used the distress inks suggested for the snow and used a couples stamp from crafty individuals. Here is how it happened.


I masked where I wanted to draw my big tree so that I didn't get the snow on the tree as suggested by Anna Karin in the magazine. 


Then added my snow 


Then the stamped couple. I finished the card with some sparkles and a Father Christmas flying through the sky.

I'm also entering this into  the crafty individual's blog challenge and fashionable stamping challenge 


Thanks for looking 
SHARE:

Sunday 8 December 2013

Christmas tree

This card doesn't have any steps but all paint is fresco acrylic from Paper Artsy the stamps are from Darcy 01 & 04 plates. The die cut window frame is from sizzix. So here are the piccys.


Thank you for looking 

Hugs Debs xx


SHARE:

Saturday 7 December 2013

Vintage challenge


...well it all started last week when I entered a vintage challenge  at Our Creative Corner  with two cards, one red and other green. I read the the requirements of the challenge a couple of times and thought yep I meet the criteria!

So I entered them all pleased with myself until later, when I recieved lovely emails on both cards from the blog saying, unfortuantly they couldn't be entered because the rules specifically say NUTURAL colours no red and no green lol.

I felt a bit foolish because I knew that, but when I come to make the cards I had totally forgot (being in my Autum years strikes again) anyway today I decided to have another go using the right colour scheme.

I collected together some bits and bobs papers etc...


I really wanted to use the red poinsettia but needed to change its colour which proved to be more difficult that I first thought. I used different paints and sprays but each time it turned pink. Finally I thought of Gesso derrrr!  That would have helped to use that first. I finally got it a reasonable colour. I added some sparkle and liked the aged look it finally developed.


 I layered different papers onto the card some distressed and some plain. I had a braclet that I didn't wear so cut up, and stuck the pearls on the card along with lace.  

And so here it is 


Thank you for looking your comments appreciated 

Hugs Debs xxx


SHARE:

Friday 6 December 2013

Christmas baubles

Baubles seem to be everywhere, I've used them on cards, they are on all the blogs and mine is no different. I was inspired to make these ones by the lovey Alison Bomber  who blogged her creation on the Paper Artsy blog. I will be entering these into their challenge.

I started by die cutting some circles in mount board using red and white stock.


I used a script stamp with fresco paints nougart and then a stamp from paper artsy called hot picks 1008 I embossed this in gold and then added utee. 


I also made several using a snow flake stamp which came free with a magazine I used some silver embossing powder.


I then added some ribbon to hang them and finished with a string bow - and here they are.


Thank you for looking xxx


SHARE:
BLOGGER TEMPLATE CREATED BY pipdig